Mastering Green Tomato Chutney: Canning & Refrigerator Storage
As the gardening season draws to a close, many home growers find themselves with a bountiful harvest of green, unripe tomatoes, a testament to nature's cycles. While the thought of letting these emerald gems go to waste might be disheartening, there's a delicious solution that transforms them into a culinary star: green tomato chutney. This tangy, sweet, and subtly spiced condiment is not only incredibly versatile but also offers a fantastic way to preserve your garden's late-season bounty. Whether you're looking for quick enjoyment or long-term preservation, mastering green tomato chutney refrigerator and canning methods will ensure you savor its unique flavor all year round.
The Allure of Green Tomato Chutney: A Culinary Rescue Mission
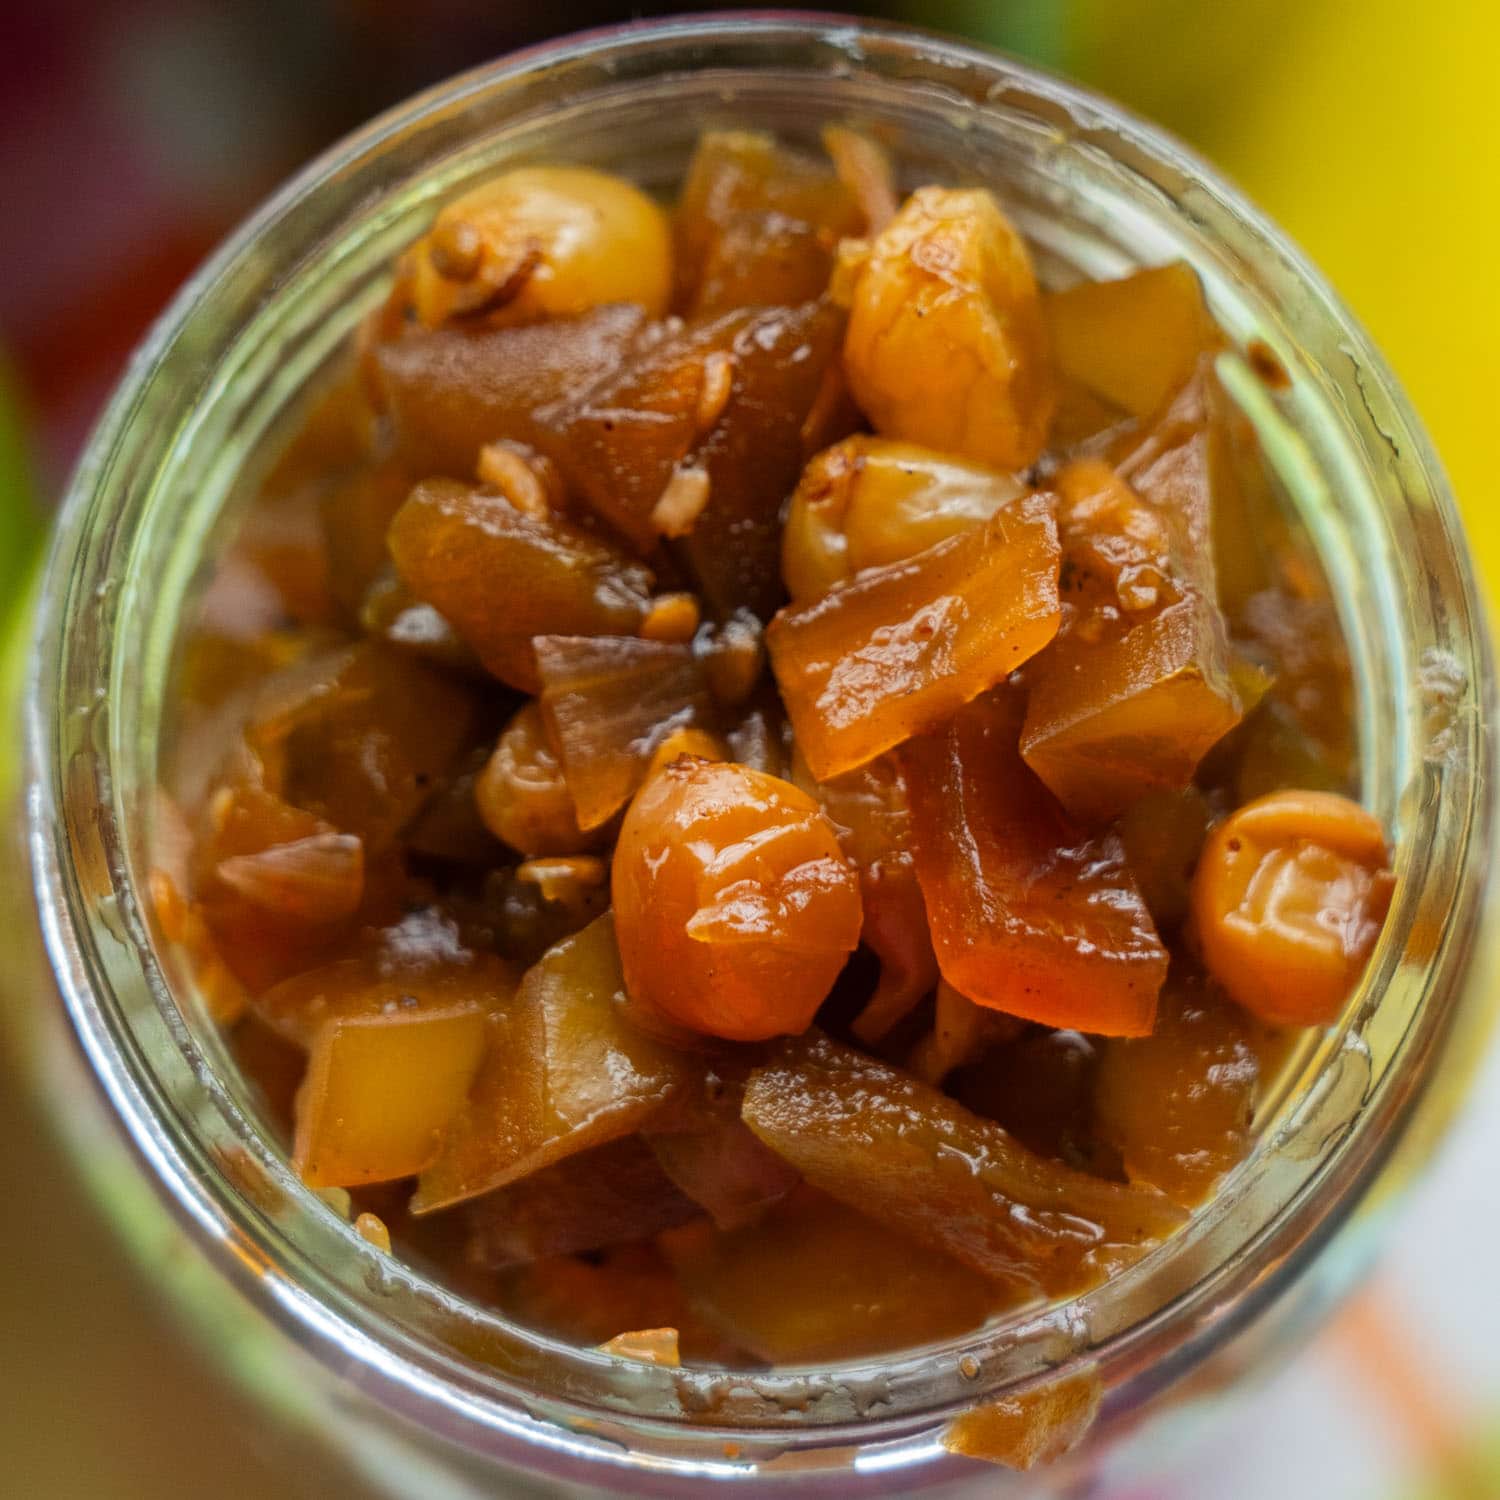
The beauty of green tomato chutney lies in its ability to turn a potential waste product into a gourmet delight. Unripe green tomatoes, often dismissed, possess a firm texture and a tartness that, when cooked down with complementary ingredients, creates a wonderfully complex flavor profile. Imagine a rich concoction featuring the crisp acidity of green tomatoes, the savory depth of red onions, the subtle sweetness of raisins, and a warm embrace of aromatic spices like nutmeg, cloves, ginger, and a hint of cayenne pepper. This combination simmers into a thick, glossy chutney that is both comforting and exciting for the palate. It's a testament to resourcefulness, echoing the satisfaction of turning unexpected circumstances into delicious memories, much like those frantic moments when an early frost threatens a harvest, spurring a creative culinary endeavor.
Making this chutney is surprisingly straightforward, especially considering the sophisticated outcome. It often involves a simple "throw-it-all-in-the-pot" approach, making it accessible even for novice cooks. The magic happens over a few hours of gentle simmering and frequent stirring, as the ingredients meld and thicken into that irresistible consistency. For more creative uses and tips on not wasting your green tomatoes, explore our guide: Don't Waste Green Tomatoes: Easy Chutney Recipe & Creative Uses.
Crafting Your Own Tangy Masterpiece: The Chutney-Making Process
The journey to a perfect batch of green tomato chutney begins with quality ingredients and a bit of patience. While exact measurements can vary slightly based on the size and water content of your tomatoes, the core components remain consistent. You'll typically need a generous amount of chopped green tomatoes (around 6 cups for a good batch yielding three pint jars), finely diced red onions (about 3 cups), and a cup of raisins (regular or golden work equally well). Garlic, sea salt, and a careful blend of ground spices like nutmeg, cloves, ginger, and a touch of cayenne pepper provide the essential aromatic base that defines a great chutney. Some recipes might also call for sugar and vinegar, which contribute to the chutney's classic sweet-tangy balance and aid in its preservation.
The Cooking Steps:
- Combine All Ingredients: In a large, heavy-bottomed pot, simply add all your chopped green tomatoes, onions, raisins, minced garlic, spices, and any other recipe-specific elements like sugar or vinegar. Give everything a thorough stir to ensure all ingredients are well combined.
- Bring to a Boil: Place the pot over high heat and bring the mixture to a rapid boil, stirring occasionally. This initial heat helps to break down the tomatoes and onions, releasing their liquids.
- Simmer and Thicken: Once boiling, reduce the heat to a low simmer. This is where the magic happens. Continue to simmer the chutney, stirring often to prevent sticking and burning. This slow cooking process allows the flavors to deepen and the liquids to evaporate, transforming the mixture into a rich, thick, and glossy condiment. This stage can take anywhere from 2 to 3 hours, depending on how watery your tomatoes are and the desired consistency. You'll know it's ready when a spoon dragged through the chutney leaves a clear path on the bottom of the pot.
- Cool and Store: Carefully remove the pot from the stove. The chutney is now ready for storage, either in the refrigerator for immediate use or through the canning process for long-term preservation. For detailed steps on lasting flavor, check out Garden-Fresh Green Tomato Chutney: Simple Steps for Lasting Flavor.
Versatility Unleashed: Creative Ways to Enjoy Your Chutney
Once you've made your delicious green tomato chutney, the culinary possibilities are endless. Its unique sweet-tangy profile makes it an incredibly versatile condiment that can elevate a wide array of dishes:
- Savory Enhancer: Dollop it generously over scrambled eggs or omelets for a breakfast with a difference. Mix it into Spanish or basmati rice for a super simple yet flavorful dinner that's anything but bland.
- Cheese & Cracker Companion: Serve it as a sophisticated spread on crackers with your favorite cheeses, from sharp cheddar to creamy brie. It's a fantastic addition to any cheese board.
- Sandwich & Wrap Upgrade: Use it as a delightful spread for your favorite sandwiches, particularly on a classic grilled cheese where its tang cuts through the richness. It also adds a gourmet touch to turkey, chicken, or veggie wraps.
- Salad Dressing Alternative: Whisk a spoonful into olive oil and a splash of vinegar for a quick and flavorful salad dressing, especially good with leafy greens and grilled chicken.
- Main Course Accompaniment: Pair it with roasted meats like pork loin, chicken, or even lamb. Its bright acidity and warm spices complement rich flavors beautifully. It's also excellent alongside curries and lentils.
- Appetizer Base: Spread a thin layer on puff pastry before adding cheese and baking for quick, elegant appetizers.
Mastering Storage: Green Tomato Chutney Refrigerator and Canning Methods
One of the greatest advantages of making green tomato chutney is its adaptability to different storage methods, allowing you to enjoy your efforts for varying lengths of time. Understanding the nuances of both green tomato chutney refrigerator storage and canning is key to maximizing your harvest.
Refrigerator Storage: Convenience for the Short Term
For those batches you plan to consume within a few weeks, simple refrigerator storage is ideal. Once your chutney is cooked and slightly cooled, carefully ladle it into clean mason jars, leaving about an inch of headspace. Secure the lids and allow the jars to cool completely on the counter for about an hour before transferring them to the refrigerator. Chutney stored this way will retain its freshness and vibrant flavor for approximately 4 weeks. It's perfect for smaller batches or when you know you'll be using it frequently.
Canning for Long-Term Preservation: A Year-Round Delight
If you've made a large batch or wish to enjoy your green tomato chutney well beyond the gardening season, canning is the superior method. Water bath canning creates a vacuum seal that preserves the chutney safely for up to a year, or even longer in optimal conditions. This process requires a few specific tools, including mason jars designed for canning, new lids, canning rings, canning tongs, and a large pot with a rack for the water bath.
Step-by-Step Canning Process:
- Prepare Jars: Sterilize your canning jars and lids according to manufacturer instructions. Keep them warm until ready to fill.
- Fill Jars: While the chutney is still hot, carefully ladle it into the warm, prepared mason jars, leaving a precise 1/4-inch headspace from the top rim. This critical space allows for proper sealing.
- Clean Rims: Using a clean, damp paper towel, meticulously wipe the rims of each jar to remove any spills or residue. A clean rim is essential for a good seal.
- Secure Lids and Rings: Center the new, warmed lids on top of the jars. Screw on the canning rings until fingertip tight – not overly tight, as this can prevent proper sealing.
- Water Bath Processing: Place a steamer rack at the bottom of a large canning pot. Carefully lower the filled jars into the pot using canning tongs, ensuring they are not touching each other or the sides of the pot. Fill the pot with hot water until the jars are covered by at least one inch of water.
- Boil and Process: Bring the water to a rolling boil over high heat. Once boiling, begin timing the processing. For pint jars, process for 15 minutes. Adjust processing time for altitude if necessary.
- Cool and Seal: After 15 minutes, turn off the heat and carefully remove the jars from the pot using canning tongs. Place them on a dish towel spread out on your counter, ensuring there's space between each jar. Allow them to cool completely overnight (12-24 hours) without disturbing them. As they cool, you should hear satisfying "popping" sounds as the lids seal.
- Check Seals: Once cooled, press the center of each lid. If the lid is concave and doesn't flex when pressed, it's sealed. If any lid hasn't sealed (it will flex up and down), store that jar in the refrigerator and consume it within 4 weeks.
- Store Canned Chutney: Wipe sealed jars clean, remove the canning rings (they can rust and make re-opening difficult), and store them in a cool, dry, dark cabinet. Properly canned green tomato chutney is best enjoyed within 1 year. Once opened, always store the jar in the refrigerator.
Tips for Chutney Success & Flavor Variations
- Tomato Choice: Use firm, unblemished green tomatoes for the best texture and flavor. The tarter, the better!
- Spice Management: While the recipe calls for ground spices, consider using a muslin bag or tea ball for whole spices (like cloves, peppercorns, cinnamon sticks) during simmering. This allows the flavor to infuse without leaving loose spices in the finished chutney.
- Stirring is Key: Don't underestimate the importance of frequent stirring, especially as the chutney thickens, to prevent it from scorching on the bottom of the pot.
- Adjust Sweetness/Tanginess: Taste your chutney towards the end of the simmering process. You can always add a little more sugar for sweetness or a splash of apple cider vinegar for extra tang, adjusting to your personal preference.
- Flavor Variations: Get creative! Add chopped apples or pears for extra fruitiness, a diced jalapeño or serrano for a spicy kick, different dried fruits like cranberries or apricots, or even a tablespoon of mustard seeds for another layer of flavor.
Embracing the art of making green tomato chutney is a rewarding experience, transforming what might otherwise be waste into a treasured culinary item. Whether you opt for the immediate gratification of green tomato chutney refrigerator storage or the long-term satisfaction of canning, you'll be well-equipped to enjoy this versatile condiment throughout the year. So, don't let those unripe green tomatoes go unappreciated; turn them into a masterpiece that will delight your taste buds and impress your guests.
